Aerial Outlaws 5v COB Strips - Addressable
Aerial Outlaws 5v COB Strips - Addressable
Couldn't load pickup availability
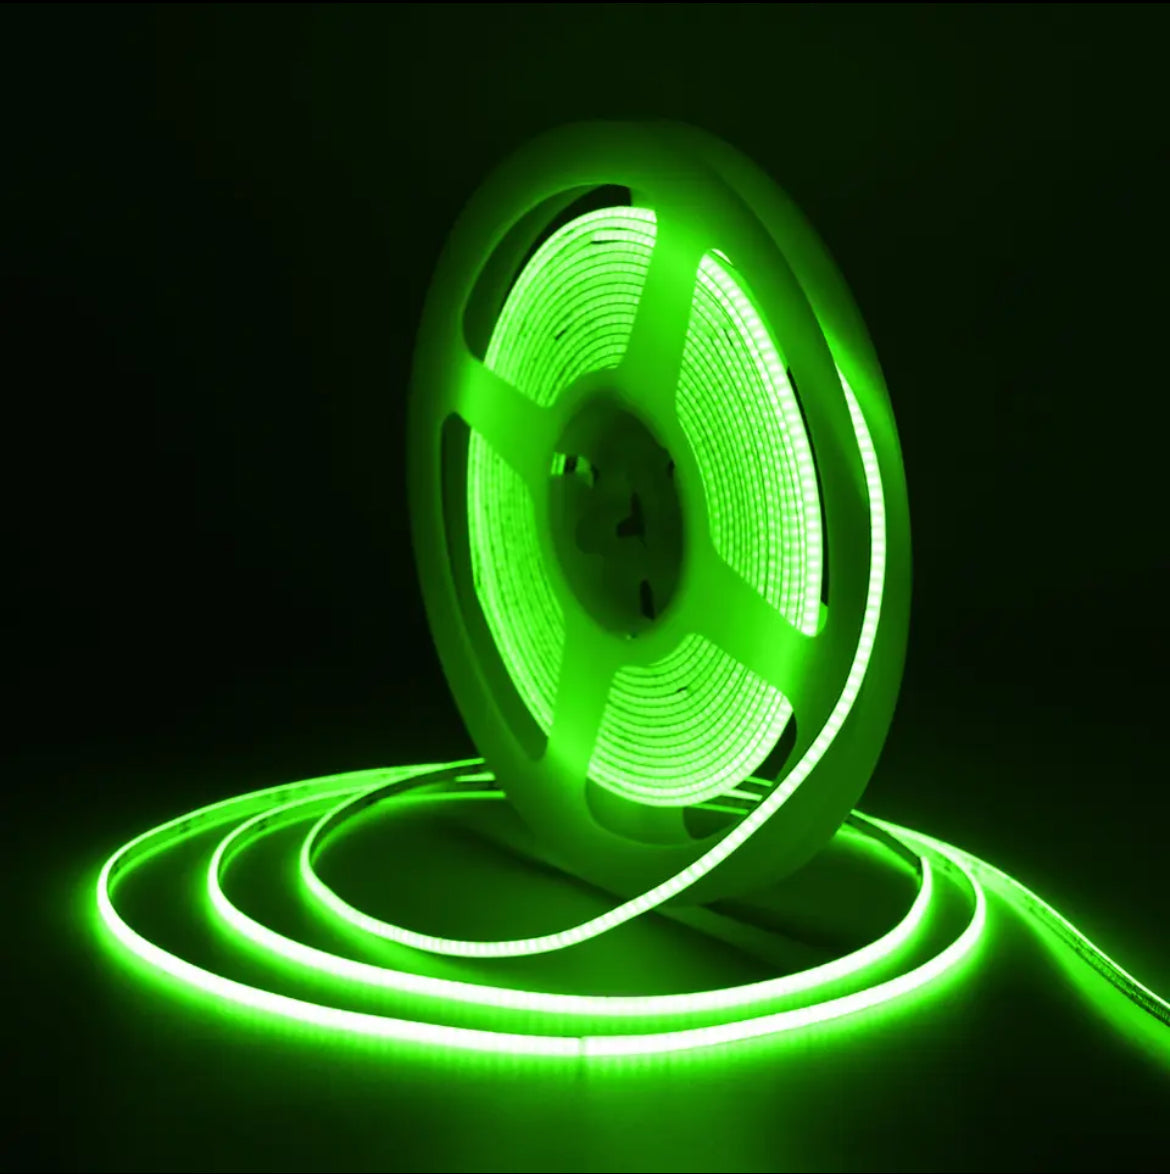
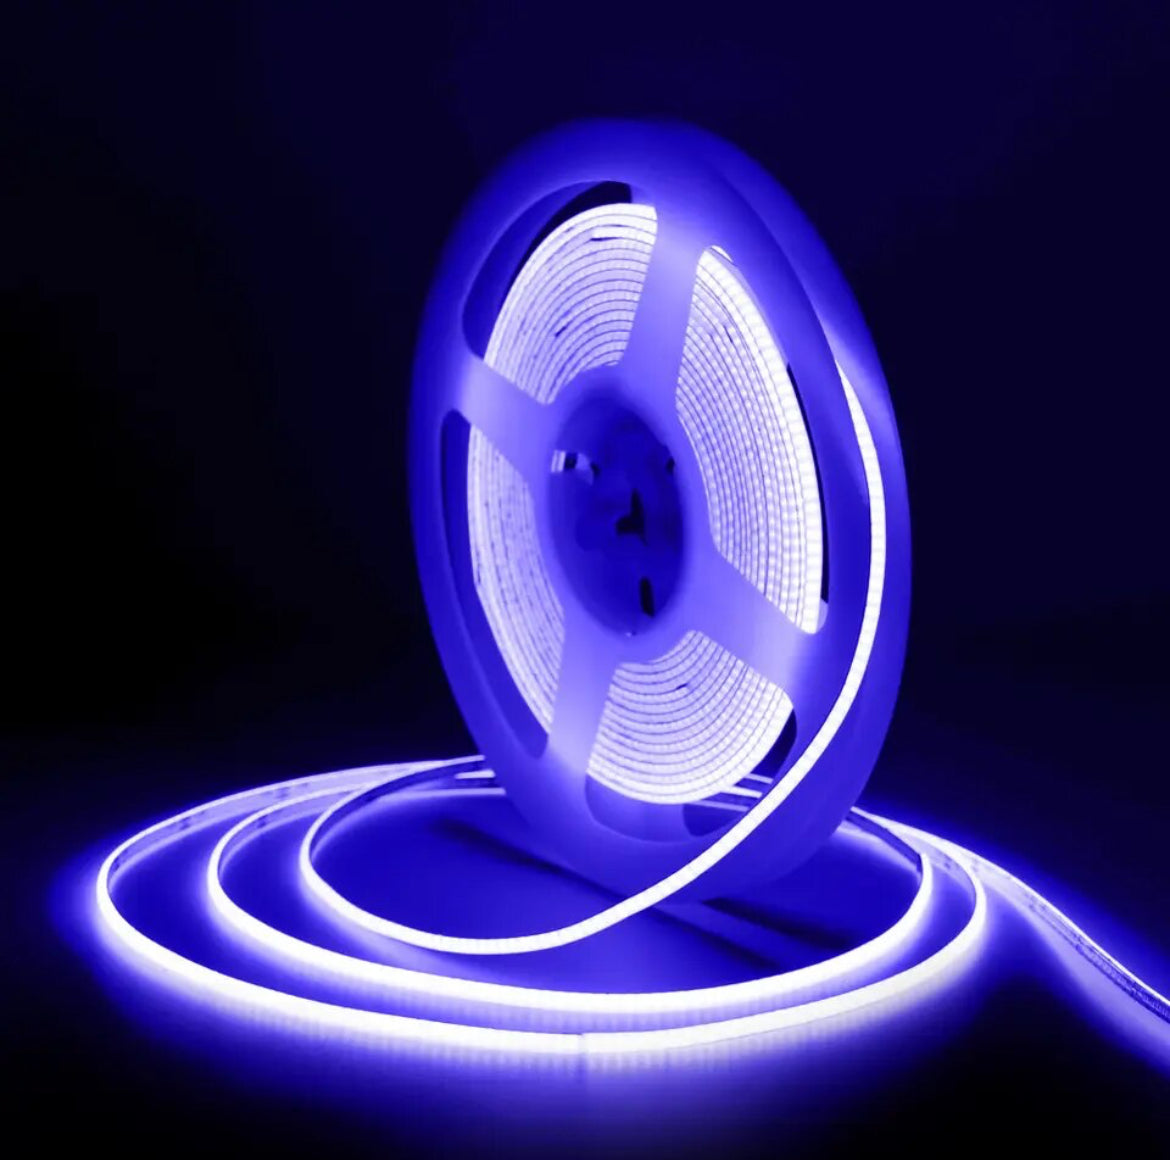
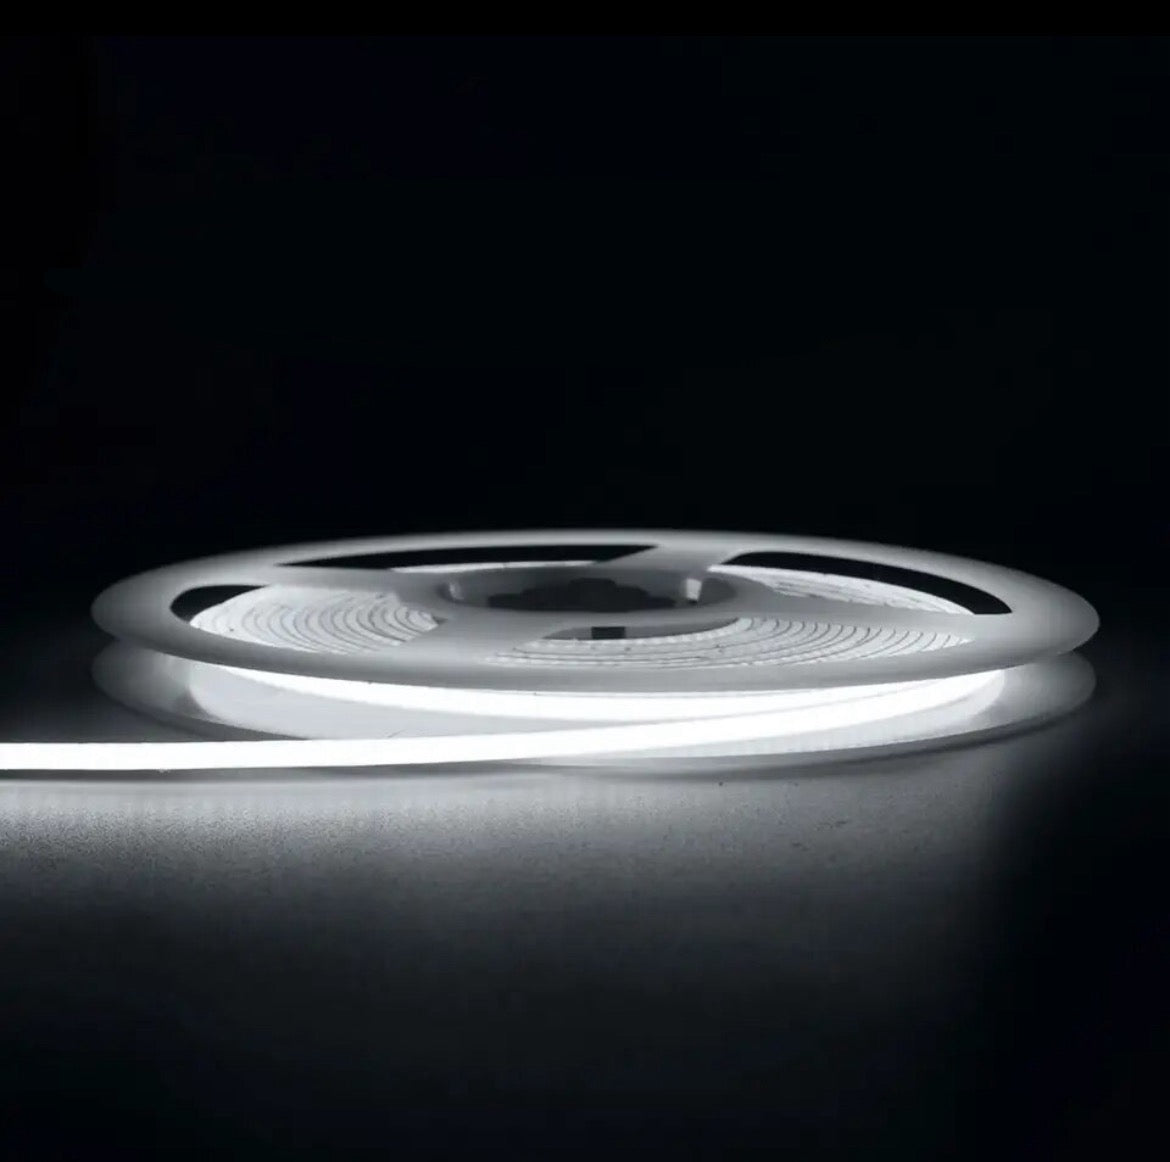
These are cob strips designed for your 1s micros and are PERFECT for UDL’s Igniter Class.
Important Notes:
Most Betaflight versions only support up to 32 addressable LEDs. If you are intending to use Betaflight as your LED controller for these LEDs, you will need to limit yourself to only 32 LEDs. Alternatively, you can reflash Betaflight and add the 64 LED function, which will allow you to use 64 LEDs. Using more than 64 LEDs is impossible if you want Betaflight as your LED controller. For that, you will need to install a separate LED controller. For this reason, 15.75” is the max length of these COBs you can use with Betaflight. This is longer than what is required to cover most 75mm frames (listed below), but just barely less than you can fit on the Mobula 7 v4.
In addition to this, you will also need to ensure that your flight controller has an LED pad if you wish to use Betaflight as your LED controller, and enable LED Strip in your Betaflight configuration.
It’s also important to note that these strips are unidirectional, unlike the single color cobs. So you won’t be able to run your wires to the middle of strip and have it work, which is a popular build technique for some.
If you do not apply proper power (5v or 1s Vbat), do not properly use/ set up your LED controller (Betaflight), and do not consider the directionality of the COB strip, the COBs will not light up. You MUST consider all 3 of these things.
Important Frame Lengths
13.75” is the exact length I use to do a full wrap of a Meteor75 frame.
14.75” is the exact length you want for a Meteor75 Air to be fully wrapped.
16.75” is the exact length I use for a Mobula7 v4 frame (15.75” with addressable as that’s the max LEDs for Betaflight).
13.75” is the length I’d recommend for a Meteor75 air if you want it mostly wrapped but need to save weight.
These are the smallest and lightest addressable COB LEDs anywhere, but we are still getting exact weights
To install, first, peel back the paper peel and a little bit of the goo from the end of the strip. You may remove all of the goo and the entire paper peel at this time if you want, but you at least have to peel back enough paper and remove enough goo to uncover the solder pads.
Note: If you do not remove the goo, you won’t be able to solder to it. The goo is hard to see, but it completely covers the solder pad so you must remove enough of it to uncover the pads, or you won’t be able to solder.
Solder a wire to both the 5v and GND pads. You can use pretty small gauge wire. However, I usually opt for at least 32awg silicone wire as I find it to be more durable and longer lasting. It might be overkill for what these cobs need but I would rather have the durability. I’ve used 38awg magnet wire and it tends to be a fail point very quickly.
Once the wire is soldered to the 5v and GND pads, start using e6000 to cover the frame and the cob strip, doing just a little bit at a time. Use baby clothespins, zip ties, tape, or another method to hold the cob strips in place while the glue dries and you move on to the next section. If you try to apply glue to the entire frame at once and apply the entire cob strip at once, the e6000 will likely start drying before you can finish and won’t give ideal adhesion. I find it helpful to use a toothpick to apply e6000 to only about 1/3-1/2 a duct at a time, using a clothespin to hold the strip in place, then doing the next half of the duct.
Note: regardless of whether you leave the goo on the cob strip or not, using e6000 is recommended as the goo does not give enough adhesion to be ideal.
As you’re gluing the strip to the frame, make sure the strip is pulled tight or you will start to see gaps where the bottom of the strip doesn’t come into contact with the frame. If this happens, you’ll have to go back later and use a toothpick to apply e6000 in the gap for ideal adhesion, which can add significant weight
Once the strip is fully applied, you can cut the wire down to length and solder to your flight controller. Most people, including myself, use the top side of the pads used for the battery lead. We typically do not use the 5v pads as these cobs seem to be absolutely perfect on VBat and using the 5v regulator could put unnecessary strain on it.